Showing posts with label YouTube. Show all posts

Thursday, July 21, 2016

Knitting a hat of Eriko Aoki's pattern


Hi knitters,

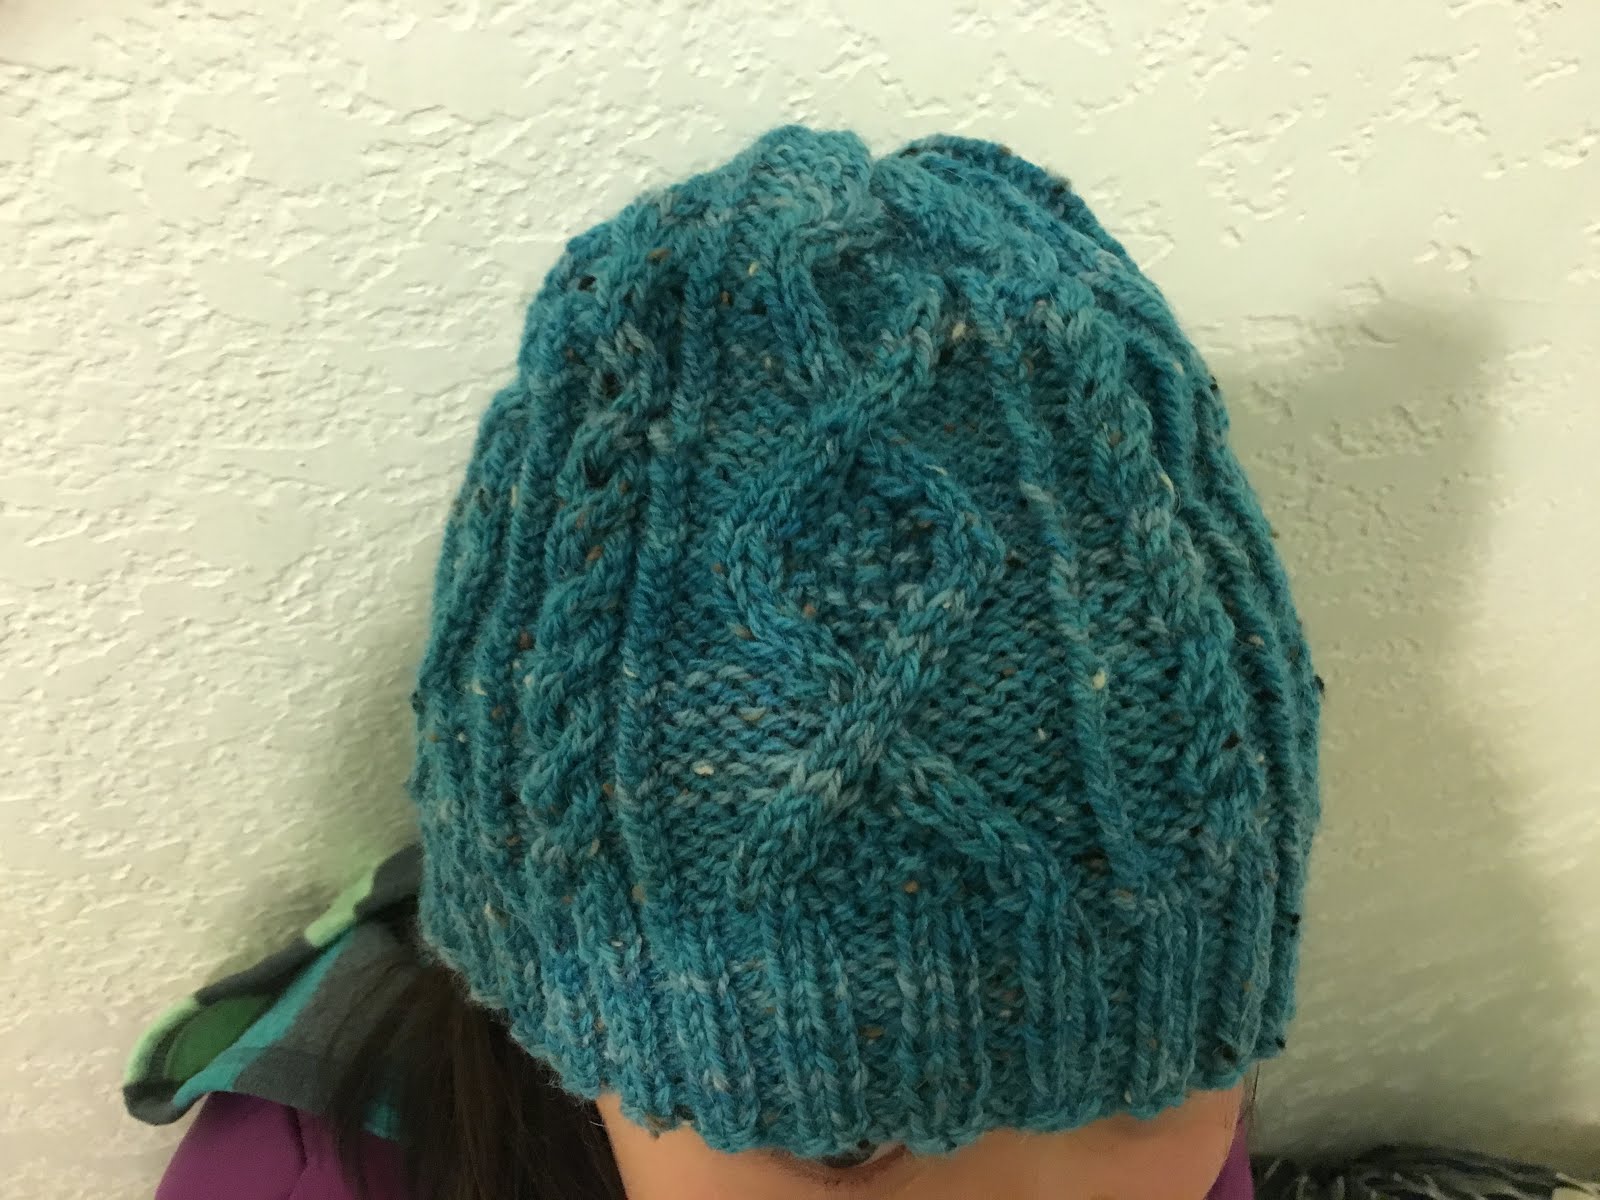
A few months ago, I've been knitting a hat, on and off, from a pattern of Eriko Aoki.  (Yeah, on and off, as I was quite busy changing my life. ) Eriko Aoki is a famous Japanese designer who has been contributing her patterns to many Japanese publications.   The pattern is from a book called House Knit, Outside Knit. 


 And I used knitting needles US #6 instead of the suggested on.  The the hat is smaller and suits children of 6 to 9 year-old.


Knitting this hat is a good exercise of cable knitting and learning Japanese knitting symbols.  I found that the advanced you want to go, the more you need to learn. And my reference book wasn't informative enough. 

Therefore, I sought help from YouTube again.


Here is one I recommend.  It is a YouTube channel called Keiko no Puppy, and it is official of the Japanese Yarn Brand Puppy.   You can find some instructions on how to knit and crochet.  The good thing about this series of YouTube tutorials is that you don't need to know Japanese at all.  The demonstration is in clear and done in slow pace.  You'll see Japanese subtitles at the bottom of the screen.  But you don't quite need that.    


And you can just look at the right top corner of the video and see the symbols.  

Here is a demonstration of k2tog.


Although this is a great help.  There are still so many symbols that I couldn't find.  I guess I need to find another reference book that contains information for rare symbols if I want to keep advancing.  I DO NEED THAT!  Please let me know if you have any recommendation.  Thank you!

So at the mean time, I finished another hat from a pattern of Japanese designers.  Will tell you more about it next time. 


Happy knitting!

Saturday, August 24, 2013

Secret weapon: tools for cable knitting


Hi knitters,

It is so good to talk about cable knitting.  Just by understanding the concept of cable knitting, you will be able to create a lot of irresistible knit.  Let's start.

First of all, let's talk about our special tool required by cable knitting.

Unlike most of the stitch you can just deal with the knitting needles, you need something extra.  And the secret weapon is called "cable needle".

The shape of Cable Needles comes in two forms.  One is symmetric one with the middle part concave a little bit.  Don't know what it's called.  A picture is worth a thousand words.


And the other one is in a J shape with one side longer and the other one shorter.  I prefer J-Hook to the other options.  As a forgetful person, I made a habit to insert the stitches from the longer side and knit the stitches from the shorter side.  This is not what everybody does.  They often do the opposite.  Just suit yourself.


Is there any way you can save money by not buying any cable needle?  Yes, there is.  If you have double-pointed needles, you can just pick one of the right size.  But do use the short double-pointed.

So basically what you need to do is to follow:

1. Separate the stitches involved into two groups.  For example, when you see a C6F, there are 6 stitches involved.  Divided them into 2 groups.  Let's call them group A and group B.  Then it will make 3 stitches belong to group A and 3 to group B.
2. Insert all the stitches of group A into the cable needle.
3. Place the cable needle either in front or back of your project.  The abbreviation will tell you.
4. Knit all the group B stitches from the left needle.
5. Knit all the group A stitches from the cable needle.

Done.  Easy?  What you need to know is what the instruction says.

To reinforce what is written above, I made a YouTube tutorial to demonstrate how to do cable knitting. You will see how simple it is.


There is one more thing I would like to share.  I usually pick a cable needle with a bit smaller than the needles I'm knitting with.  For instance, when I knit with US #8 needles, I use cable needle with something like #6 needle.

There is no size mark on cable needle. However, it is very easy to tell which one is smaller.  No need to worry about that.   

Knowing how to do cable knitting is an invaluable benefit for every knitter who wants to have more fun.  There are some knit I create that requires cable knitting skills.  Op. 4 and Op. 13 are both good exercises.  Later I will talk about other kind of cable knitting.  Excited already?  Anyhow,

HAPPY KNTTING

Tuesday, July 16, 2013

Knitting for Save the Children


Hi Knitters,

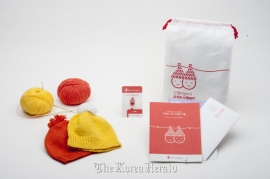
Today I'm gonna chat about Save the Children in Korean.  Why?  Because they made knitting such a beautiful thing.  

First of all, what does Save the Children do? Save the Children in Korean, Hong Kong, and Australia encourage citizens to knit baby hat for babies in developing countries like Napel. According to Save the Children Hong Kong,

"Newborn babies suffering from heat loss due to lack of warmth on the heads are likely to be more susceptible to infecting pneumonia."

Basically what we need to do is to KNIT. Isn't that exactly what we live for? These organizations do not collect hat until winter.  So, if we start knitting for them today, we will probably have a few.  

In fact, the yarn we need for knitting a baby hat is not that much.  Leftover will always be enough.  So I would say, you really need to pay for anything if you are already a knitter.


Though I am a big big fan of Brown Eyed Girls, I know nothing about Korean the language.  But the above video is quite easy to understand by just watching it carefully.  Of course you can replay and replay...And I'm sorry.  I don't know lots of Korean drama.  Anybody know about the star in this video?  His name is Yoochun.  This campaign is back in 2012.  Winter is coming.  I wonder who is the star representative for 2013.  


The method used in this video is not circular knitting.  Just knit straight with knitting needles with long cord.  Then connect the two sides by sewing.  I've never done this before.  Will try it someday.  

I'm not sure if Save the Children in U.S. have a knitting campaign like this.  Usually I will just collect them and bring them to Hong Kong when I go back home.  Yes. I'm from HK.  But surely there are lots of charity that needs help from knitters in the U.S.  Please feel free to provide info in our comment section.  Thank you.  

HAPPY KNITTING

Saturday, June 29, 2013

Decoding PSSO: How to Pass Slipped Stitch(es) Over

Hi people,


Today I'm glad to talk about one of the most useful technique for knitting: psso.

Psso, a.k.a. Pass slipped stitch over.  By taking it literally, what we know is that there is one slipped stitch involved.  What we don't know is how many stitches follow the slipped stitch. 

Well, that's exactly why psso, though easy to do, also easy to become tricky.  Oh...mystery...

But don't panic.  Let's decode psso together by taking a look at some examples.

Sometimes there may be one stitch that follows the slipped stitch .  What should we do as the instruction goes like <sl1, K1, psso>?  This means after slipping one stitch, knit 1 stitch, then pass the slipped stitch over the knitted one.    Well then, in this case,  how many stitches are involved?  

The answer is 2.  Good job.  

Sometimes there may be 2 stitches that follow the slipped stitch.  e.g. <sl1, K2, psso>.  In this case, you have to pass over two knitted stitches with your slipped stitch.  And in this case, three stitches are involved.  Hope you get the idea by now.

Certainly there are more combos that requires psso in the world.  But still, all you need to know is to follow instruction carefully.  


And now we talk about HOW to do psso. (finally.....^____^ll)


Some key points you need to bear in mind while doing psso:


  1. Pick up the slipped stitch by inserting the LEFT needle 
  2. The left needle goes from 7 o'clock position to 1 o'clock position. 
  3. Pass the picked-up stitch over whatever on the right needle from RIGHT to LEFT 
  4. Keep what follows the slipped stitch remain on the right needle.   DON'T DROP it (or them) .
It might seem a bit complicated.  But in actuality, no....I did a YouTube tutorial for psso to  have the above main points carried out.  For this demonstration,  I use the <sl1, K1, psso> combo. 


As psso can be part of whole lots of varieties.  That's why it's essential.  A perfect exercise that cry for psso is Op. 11.   

I hope the content of this blog as well as the video will become handy for you.  Questions?  Feel free to leave comment here or on fb page.

HAPPY KNITTING  

Thursday, May 16, 2013

K2tog = Knit two stitches together


Hi Knitters

K2tog is the abbreviaiton for 'knit 2 stitches together'.  Doing K2tog results in decreasing a stitch in a row.  For example, if you do K2tog twice for a row that has 10 stitches in it.  In the next row, you will only have 8 stitches.

In this YouTube following video, I will demonstrate how to do K2tog.


In Japanese, K2tog is also refered as 左上二目一度 (hitari-ue-futa-me-ichi-do).  It implies that K2tog is better used to decrease the number of stitch on the left side of the knit.  Well, let's look at the end result.  Pay attention to the direction the stitch leans on.


In English, we have the short form for knitting 2 stitches together.  In Japanese graph, which is quite commonly used in other countries too, a graph like this is used.

K2tog is the easiest way to decrease the number of stitch.  If there is not specific requirement for other method, K2tog is always my choice.

Knowing how to do K2tog enable us to do A LOT....
Including decrease the stitches in Op. 8 Scarflet.


Anyway, I filmed three tutorials in a row.  Will post the other two very soon.

HAPPY KNITTING

Wednesday, May 15, 2013

M1=Make One Stitch.


Hi Knitters,

Today I am going to introduce the easiest way to make a stitch.  To make a stitch, we will increase the number of stitch.  For example, if we have 10 stitches in the row, after making one stitch, there will be 11 stitches in the next row.

M1 is the abbreviation for 'make 1';  'making one stitch'.

Just like decreasing, there are more than one way to increase the number of stitch.  The method introduced here is easy to learn.

With your left needle, pick up the yarn in between the stitches on both needles, then knit on this 'fake stitch'.


And here is a YouTube tutorial I did for you guys:


Please note that doing M1 like this results in making hole. 


 And this effect is useful and demanded in knitting Op. 8 Scarflet.  

Hope it helps.  And I will continue making more knitting tutorials.

HAPPY KNITTING


Saturday, March 16, 2013

Slip Stitch

Hi Knitters,


Two days ago I uploaded a tutorial on YouTube.  It's about how to do a 'slip stitch'.  There are several variations of the slip stitch: some with further instruction and some just say 'slip stitch'.   This technique discussed here is the later one.  

1. Put the yarn in back as you knit.
2. Insert the right needle into the stitch purlwise: from bottom to up.
3. Remove the stitch from left needle to right needle.


It is in fact a very easy and useful technique.  Learning this technique enables you to knit Op. 7 hat.

Thanks for watching and reading.  Will upload more tutorials in the future.

HAPPY KNITTING

Thursday, March 14, 2013

Logo and BGM

Hi Knitters,

I'm so glad that we finally have a LOGO.

This logo is designed from a friend from Japan.  Don't you like it?  It totally fits our title..A sharp and smart LEMON and two needles for KNITTING. Look at that 'sexy' body of the lemon.  Doesn't it remind you a ball of yarn? Gorgeous work!  Thank you my friend!


Also, another friend who composed the background music for our YouTube Tutorial just uploaded some music in her SoundCloud account. 


Feel free to listen to her music.  As my friend mentioned, she has  made some alternation for the BGM.  It's very possible that I may used some of her music in the future for my YouTube videos.  

Anyway, I'm still working on the new tutorial....see you guys soon!

HAPPY KNITTING

Sunday, November 25, 2012

YouTube Tutorial for Op. 2

Hi knitters,

How is the long weekend?  I am very satisfied with Black Friday shopping this year.  I am also very happy to announce that a tutorial video is accomplished and posted on YouTube.  


Yes, now I have a YouTube channel.  Tutorials which are helpful for the patterns available in this blog will be posted.   The first one will be a tutorial for Op. 2 scarf.

http://eatinglemonknitknitknit.blogspot.com/2012/11/op-2.html

Happy Knitting!